Product Details
-
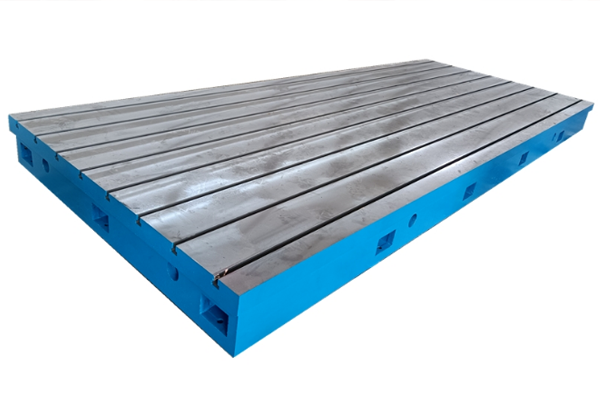
Cast iron platform flat series
-
Marble measuring tool
-
3D welding platform
-
Square box/bending plate
-
Series of cast iron flat ruler
-
V-frame series
-
Magnesium aluminum measuring tool
-
Skew instrument series
-
Plug ring gauge series
-
Machine tool pad iron series
-
Machine tool casting series
-
Counterweight iron series
-
Cast iron flooring
-
Ground rail series
-
Special wrench series
-
Other series
-
Machine tool inspection measuring tools
-
Haval Festival series
-
Valve series
-
Casting

Smooth plug gauge
1、The use of smooth plug gauges
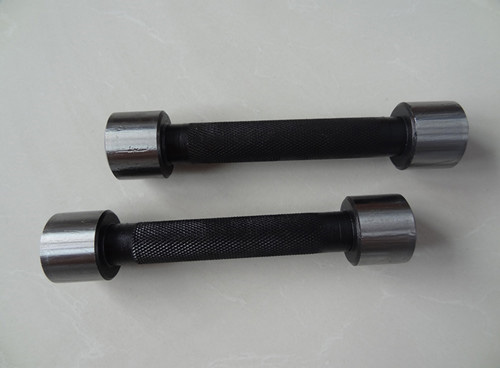
Smooth plug gauge,also known as smooth hole gauge.It can be made into two sizes:large and small.The small end is called the through end,and the large end is called the stop end.In measurement,the through end plug gauge should pass through the small diameter,and the stop end plug rule should not pass through the small diameter.The material of the smooth plug gauge is T10,which has undergone heat treatment,carburization and other processes,and the hardness is HRC58-62°.
2、Product specifications for smooth plugs
Various smooth plug gauges with an IT6 level or above(including level 6)diameter ranging from 1.6 to 600mm.Various smooth ring gauges,for dial rings:diameterφ8-1200mm with an accuracy of±0.002
1.The standard conditions for measuring with a smooth plug gauge are a temperature of 20℃and zero measuring force.
2.The gauge used to inspect the large physical dimensions of a workpiece(i.e.,if the hole is small and the shaft is large)is called a gauge.
The gauge used to check the small solid size of a workpiece(i.e.,the hole is large and the shaft is small)is called a stop gauge.
3.The gauges that comply with the principle of size judgment(i.e.Taylor's principle)are as follows:
The measuring surface of the gauge should be a complete surface corresponding to the shape of the hole or shaft(usually referred to as a full gauge),with a size equal to the large solid size of the workpiece and a length equal to the fitting length.
The measuring surface of the stop gauge should be point shaped,and the size between the two measuring surfaces should be equal to the small solid size of the workpiece.
Gauges that comply with the Taylor principle,such as those that are inconvenient or difficult to apply in certain situations,can be used with gauges that deviate from the Taylor principle,provided that the shape error of the inspected workpiece does not affect the fitting properties.
4.Use a gauge that meets this standard to inspect the workpiece.If the go gauge can pass but the stop gauge cannot,the workpiece should be considered qualified.
5.When the manufacturing plant inspects the workpiece,the operator should use a new or less worn gauge;The inspection department should use a gauge in the same form as the operator and with more wear and tear.
When the user representative inspects the workpiece with a gauge,the gauge should be close to the large solid size of the workpiece,and the stop gauge should be close to the small solid size of the workpiece.
6.Use a gauge that meets this standard to inspect the workpiece.If there is a dispute,the following size gauges should be used to resolve it;
The gauge should be equal to or close to the large solid size of the workpiece;
The stop gauge should be equal to or close to the small solid size of the workpiece.
 NEWS
NEWS
-
The main function of welding platforms
2022-09-08 05:40:39
-
Measures for maintenance and upkeep of the marking platform
2022-09-08 05:39:16
-
Reference plane inspection and application of cast iron platforms
2021-01-24 11:20:22
-
The centralized method and measurement inspection method for installing cast iro
2021-01-20 09:21:17
-
How to Reasonably Design Reinforced Ribs for Cast Iron Platforms
2021-01-19 09:51:22
 CONTACT
—— E-mail:326673342@qq.com
—— Tel/Fax:+86-0317-8383389
—— Phone:+86-18603177396
—— Address:Linzhuang, Haocun Town, Botou City, Hebei Province


