Product Details
-
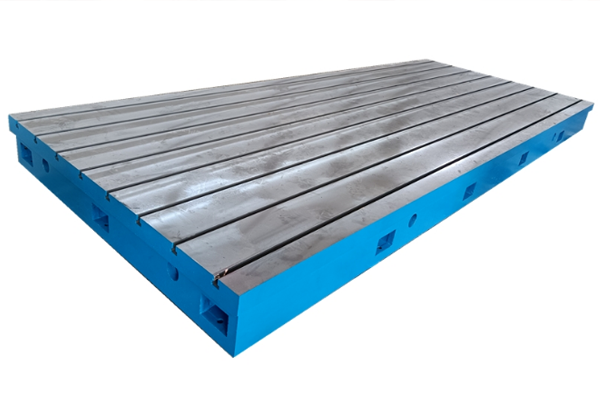
Cast iron platform flat series
-
Marble measuring tool
-
3D welding platform
-
Square box/bending plate
-
Series of cast iron flat ruler
-
V-frame series
-
Magnesium aluminum measuring tool
-
Skew instrument series
-
Plug ring gauge series
-
Machine tool pad iron series
-
Machine tool casting series
-
Counterweight iron series
-
Cast iron flooring
-
Ground rail series
-
Special wrench series
-
Other series
-
Machine tool inspection measuring tools
-
Haval Festival series
-
Valve series
-
Casting

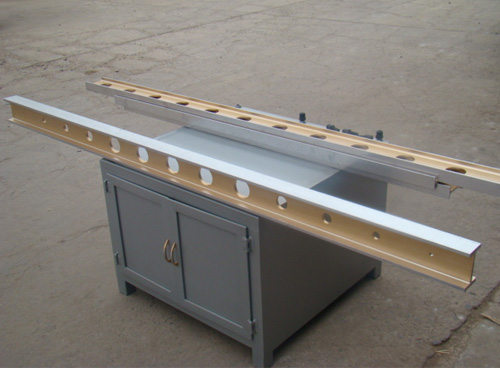
I-shaped ruler
The I-shaped ruler is manufactured according to the JB/T7977-99 standard,made of HT250 material,and the working surface adopts scraping or grinding technology.It is used for inspecting unevenness and straightness in machine tool inspection.The two working surfaces are used in conjunction with block gauges,micrometers,levels,and other instruments for inspection.At different heights,the parallelism of the two guide rails and the level of the unconnected guide rails can also be used in conjunction with a right angle ruler.It is a measuring tool for inspecting the verticality of two machine parts that cannot be inspected with a right angle ruler,Also suitable for equipment installation and inspection,with a usage temperature of(20±5)℃
The main characteristics of an I-shaped flat ruler are good stability and easy maintenance.I-shaped flat rulers include 90℃tools such as square rulers and bending plates.Both sides of the precision level I-shaped ruler are ground with beveled edges,and the crossbeam has a thin groove at the inner corner to facilitate the collection of dirt and materials.This is also the reason why people ask when to choose a H-shaped ruler.
There are several specifications for I-shaped rulers:
500 x 35 750 x 40 1000 x 50 1200 x 50 1500 x 70 2000 x 80 2500 x 80 3000 x 100 3500 x 100 4000 x 10
What are the things to pay attention to when using so many specifications of I-shaped rulers?
1.Before use,check if the accuracy of the parallel ruler[3]is qualified.
2.Check whether the working surface of the parallel ruler and the inspected surface of the workpiece are wiped clean,and whether there are any factors that affect the measurement,such as scratches and burrs,on the measured surface.
3.Check if the machine is turned off and prohibit measuring workpieces during operation,otherwise it will damage the parallel ruler and be prone to accidents.
4.Parallel rulers cannot measure workpieces that are too cold or too hot.(Thermal expansion and contraction can damage the accuracy of parallel rulers)
5.When measuring,try to avoid pulling the parallel ruler back and forth on the measuring surface of the workpiece being measured.One measurement should be completed,and the parallel ruler should be moved away from the measuring surface of the workpiece before measuring another area.
We need to hang and place the parallel ruler when using the finished typeface ruler.If it cannot be hung,try to place the parallel ruler horizontally.Do not place heavy objects on the parallel ruler to avoid bending and deformation.If it is not suitable for a long time,a layer of anti rust oil should be applied to the surface of the parallel ruler.The storage location should be selected in a dry place to avoid rusting of the I-shaped ruler.
 NEWS
NEWS
-
The main function of welding platforms
2022-09-08 05:40:39
-
Measures for maintenance and upkeep of the marking platform
2022-09-08 05:39:16
-
Reference plane inspection and application of cast iron platforms
2021-01-24 11:20:22
-
The centralized method and measurement inspection method for installing cast iro
2021-01-20 09:21:17
-
How to Reasonably Design Reinforced Ribs for Cast Iron Platforms
2021-01-19 09:51:22
 CONTACT
—— E-mail:326673342@qq.com
—— Tel/Fax:+86-0317-8383389
—— Phone:+86-18603177396
—— Address:Linzhuang, Haocun Town, Botou City, Hebei Province


