Product Details
-
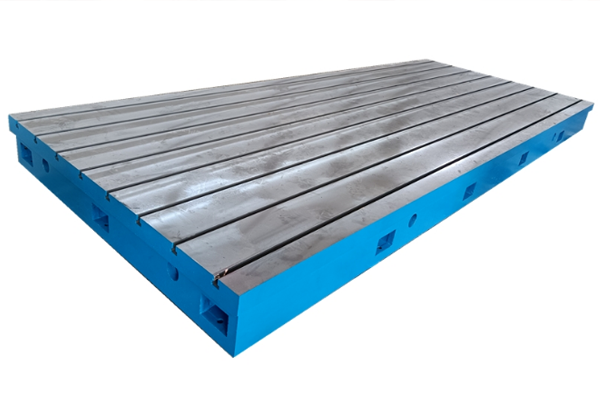
Cast iron platform flat series
-
Marble measuring tool
-
3D welding platform
-
Square box/bending plate
-
Series of cast iron flat ruler
-
V-frame series
-
Magnesium aluminum measuring tool
-
Skew instrument series
-
Plug ring gauge series
-
Machine tool pad iron series
-
Machine tool casting series
-
Counterweight iron series
-
Cast iron flooring
-
Ground rail series
-
Special wrench series
-
Other series
-
Machine tool inspection measuring tools
-
Haval Festival series
-
Valve series
-
Casting

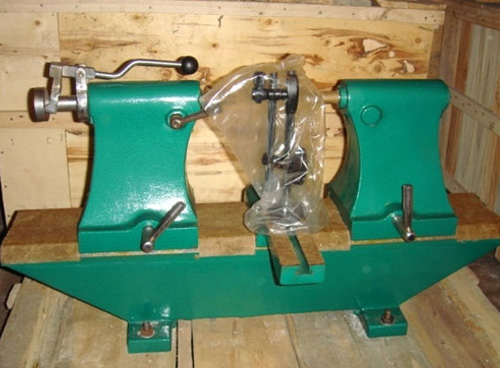
New type of deflection inspection instrument
The structural advantages of the new type of deflection tester:
Equipped with a pair of Mohs 4#hard materials,it improves the measurement accuracy of the deflectometer,increases the support weight of the tested parts,and can measure the radial,end face,and oblique circular runout of the parts.The watch stand design is exquisite and reasonable,with smooth and free adjustment of up and down,front and back,left and right,convenient operation,good rigidity of the watch stand,and improved sensitivity of the detection instrument.
The working principle of the new type of deflection tester:
The radial runout of the ring gearΔFr,within the range of one revolution of the gear,the measuring head is in contact with the high gear on both sides of the groove teeth or on the gear,and the measuring head is relative to the gear axis in terms of activation.During inspection,place the inspected gear installed on the core shaft between the two top pins of the instrument.Insert the measuring head with the original tooth profile of the rack into the teeth of the gear in sequence,and indicate the runout of the measuring head position on the gear rotation axis with an indicator.
The widespread application of new deflection inspection instruments:
Widely used for measuring shaft and disc products and components,mainly detecting their radial runout,ovality,and end face accuracy errors.
Introduction to the usage method of the new type of deflection tester:
Tighten the eccentric shaft handle and first fix the fixed seat on the instrument mount.Fix the movable seat in a suitable position according to the length of the tested part.Press down the ball handle,insert the part,and use two to counter the center hole of the part.Tighten the fastening handle to secure it.Place the activity watch holder in the desired position.The testing work can be carried out in conjunction with 90%wheat(1000%wheat).
The main technical parameters of the new deflection instrument are:
1.Radial rotation accuracy of 0.001mm;
2.The parallelism of the side guide rail to the connecting line on the entire length is 0.005mm(A03,B03 types),0.008mm(A05,B05 types),0.02mm(A10,B10 types);
4.The large diameter of the tested part is 250mm;
5.The tested part has a large length of 300mm,500mm,and 1000mm;
Issues to pay attention to when detecting workpieces with a deflection instrument:
1、When inspecting workpieces,they should be handled with care and no tools or workpieces are allowed to be placed on the guide rail surface.
2、After the completion of workpiece inspection,the instrument should be immediately maintained,the guide rails and sleeves should be coated with oil to prevent rust,and the surrounding environment should be kept clean.
3、A dedicated person should be designated to conduct accuracy measurement and inspection of the pendulum at the end of each month,ensure that the equipment is in good condition,and keep measurement records.
 NEWS
NEWS
-
The main function of welding platforms
2022-09-08 05:40:39
-
Measures for maintenance and upkeep of the marking platform
2022-09-08 05:39:16
-
Reference plane inspection and application of cast iron platforms
2021-01-24 11:20:22
-
The centralized method and measurement inspection method for installing cast iro
2021-01-20 09:21:17
-
How to Reasonably Design Reinforced Ribs for Cast Iron Platforms
2021-01-19 09:51:22
 CONTACT
—— E-mail:326673342@qq.com
—— Tel/Fax:+86-0317-8383389
—— Phone:+86-18603177396
—— Address:Linzhuang, Haocun Town, Botou City, Hebei Province


