Product Details
-
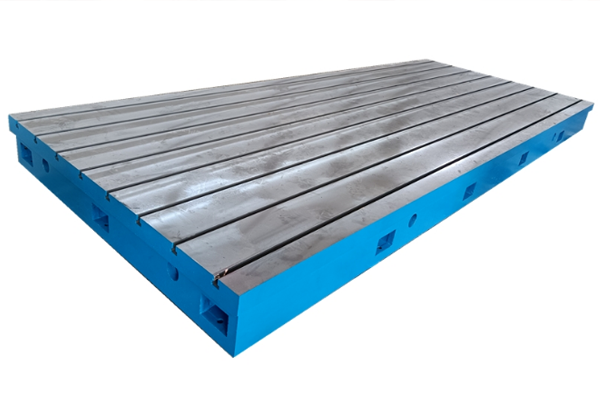
Cast iron platform flat series
-
Marble measuring tool
-
3D welding platform
-
Square box/bending plate
-
Series of cast iron flat ruler
-
V-frame series
-
Magnesium aluminum measuring tool
-
Skew instrument series
-
Plug ring gauge series
-
Machine tool pad iron series
-
Machine tool casting series
-
Counterweight iron series
-
Cast iron flooring
-
Ground rail series
-
Special wrench series
-
Other series
-
Machine tool inspection measuring tools
-
Haval Festival series
-
Valve series
-
Casting

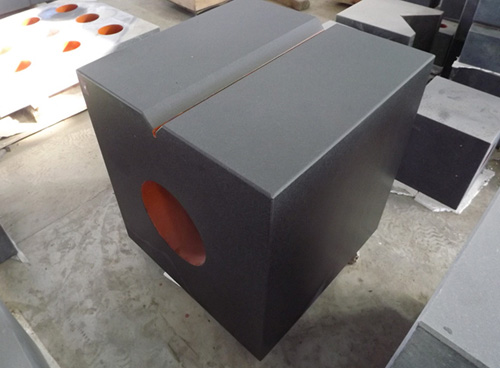
Marble square box
Application of marble square box:The main mineral components of marble square box are abscission stone,plagioclase,small amounts of olivine,biotite,and trace amounts of magnetite.The texture is hard,with a Damo hardness of 6-7 levels,and it is not damaged or rusty.It is mainly used for measuring instruments,tools,mechanical parts,etc.The marble square box has neat joints after being laid on the board,and the standard specifies the allowable deviation in the size and grid of the marble board,the allowable tolerance in flatness,and the allowable tolerance in angle.Marble can be divided into two types:regular board(square or rectangular board)and irregular board(other shaped board).
Features of Marble Box:
1.After long-term aging,the rock has a uniform organizational structure,linear expansion coefficient,disappearance of internal stress,and no deformation.
2.There will be no scratches,not hindered by constant temperature conditions,and the temperature measurement accuracy can be maintained at room temperature.
3.Good rigidity,strong,and minimal temperature deformation.
4.Not afraid of acid and alkali erosion,not prone to rust,does not require oil,is not prone to sticking fine dust,maintenance is convenient and simple,and has a long service life.
5.Non magnetized,able to move smoothly during measurement,without any sluggishness,unaffected by moisture,and well balanced on a flat surface.
Verification method for marble square box:
For square boxes with a side length of 315mm and below,1mm measuring blocks are placed at both ends of the inspected surface of the square box during calibration.A straight edge is placed on the working surface of the measuring block,and then measuring blocks are used to test the plug at each inspected point.The difference between the size of the equivalent block group when just inserted and the size of the measuring blocks at both ends is the deviation between the inspected point and the two ends.This calibration should also be carried out on several cross-sections of the square box working surface in the longitudinal,transverse,and diagonal directions.When the error direction in the measured straight lines at each position is consistent,the maximum value is taken.When the error direction is inconsistent,the sum of its large positive and large negative differences is taken as the flatness of the tested surface plane.
 NEWS
NEWS
-
The main function of welding platforms
2022-09-08 05:40:39
-
Measures for maintenance and upkeep of the marking platform
2022-09-08 05:39:16
-
Reference plane inspection and application of cast iron platforms
2021-01-24 11:20:22
-
The centralized method and measurement inspection method for installing cast iro
2021-01-20 09:21:17
-
How to Reasonably Design Reinforced Ribs for Cast Iron Platforms
2021-01-19 09:51:22
 CONTACT
—— E-mail:326673342@qq.com
—— Tel/Fax:+86-0317-8383389
—— Phone:+86-18603177396
—— Address:Linzhuang, Haocun Town, Botou City, Hebei Province


